Now that our glue is set, we move onto the sanding and shaping portion of this job. This is the sort of day where you can not forget to put your contacts in. One must rely on eyesight and a steady hand, because theres no tools or jigs that will help you along. Experience and knowledge are the only guides.
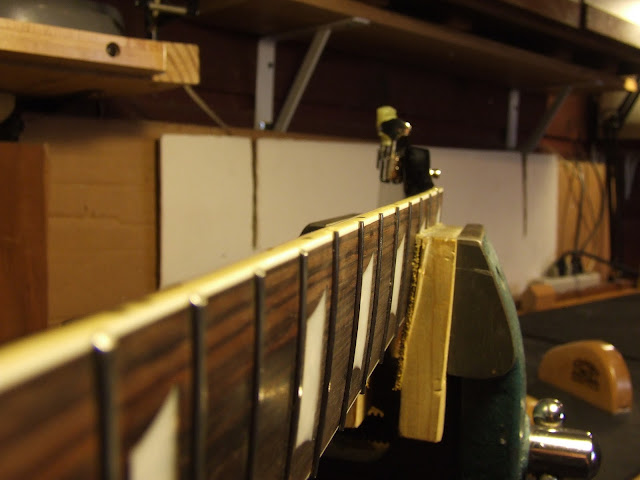
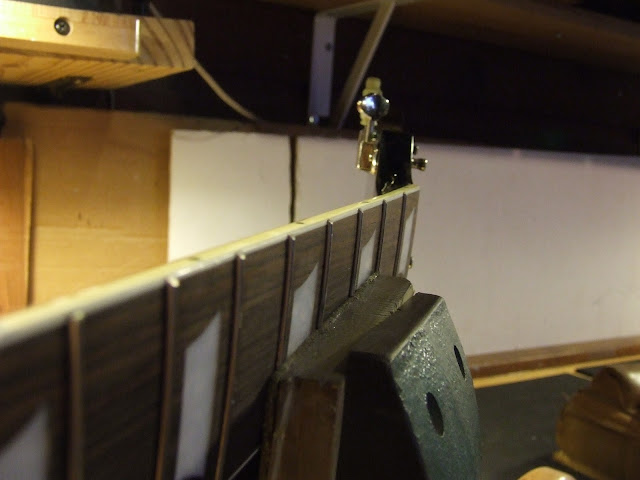
The first four frets in the foreground of this picture are original and have a nice bevel on the edge. The rest of the frets down the neck are not yet shaped. They have however, already been sanded flush with the edge of the fingerboard. To do this I use our custom made diamond files. I'll be careful to only ride my file along the fret edge, and not to cut into the finish at all. Once it gets close, I switch to the super-fine file, which basically only polishes the end and removes all the rough file marks. Its safe even to ride along the finish and not cause any damage.
Next I'll level our new frets into the old ones. There was actually quite a bit of leveling needed anyway in the upper frets, so we'll take care of this all at once. Typically we do our leveling with the neck at full string tension, but this neck was pretty straight with and without strings on.
I'll use a blue marker to mark the tops of all the fret and use the large sanding beam until all the marker has been sanded off all of them. Then I'll re-blue them and sand again with a finer grit paper.
Afterr that I'll string it up and make sure everything looks good at full tension. It does, so I'll move along to crowning the frets and do the final shaping on the ends.
Here is a nice shot showing you the consistant beveled ends. At this point you can no longer tell the new frets from the old. Looking down the neck, you want to see all the frets lining up like soldiers. This is the kind of attention to detail that defines our shop.
To do the final shaping on the ends, I use whats known as the 'ultimate fret end file' (more info here) to gently round each fret end. This takes care of the last remaining sharp area, and creates a pretty little half-moon shape on each fret end.
After 5 stages of buffing and a coat of fingerboard oil, the guitar is basically new again. Because of the new taller frets, we had to install a small .020" carbon fiber shim under the nut. This is a great material that I'll talk about extensively in later posts.
The action at the saddle was a little high for the owner's taste, so I brought it down slightly. Both the saddle and the nut are made of bone. I'm not sure if that's original to this guitar or not, but it really helps it sing.
Naturally, the guitar got its share of Beatles and Lennon tunes played on it before I deemed it finished. It has a real crisp, clear, even tone. Reminds me of a post-Beatles Plastic Ono Band sound. Sounds great finger-style or with a pick. I'm sure Mr. Lennon himself would have been inspired while playing this one!


No comments:
Post a Comment